If you want to know how to get out and live in the wilderness, you're at the right place.
First things first. When you want to get away from the city and live in nature, where in the world do you go? First, decide what setting you want. Sandy beaches, deep forests, rolling hills, grassy meadows, a lakeside treehouse, or thriving rivers are all possible destinations.
Second, search up an uninhabited place that suits your liking, pack up, and head out. Find out how you are going to get there and if it is private land, stay off. Nobody wants to get shot down by a hillbilly.
Next, pack supplies for your trip. Here are some items that you will find helpful:
- ropes
- flint and steel (purchase at a hobby shop)
- strong string
- a knife (or make your own out of wood or rock)
- adequate clothing and leather boots
- a water bottle (unless you want to use your hands as a cup or make a wood bowl)
- a hammock (which you can make if you bring enough rope)
- a backpack
- hunting bow and a sheath of hunting arrows (or make your own)
- fishing net
- a tarp
Ropes come in handy for many things including tying yourself to a large tree branch to sleep, making nooses to catch prey, and keeping your food up and out of hungry animals' reach.
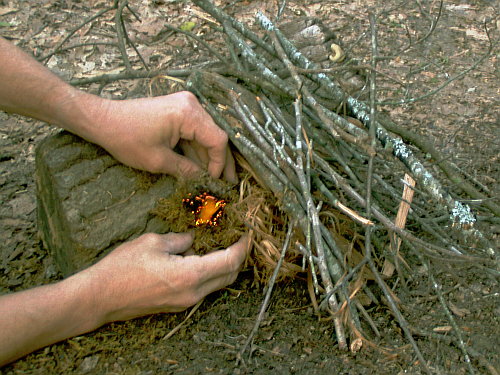
Making a fire with flint and steel is challenging, but not impossible. When you strike flint against steel, it creates a spark by breaking and heating a tiny piece of the steel, causing it to ignite when it feeds on the air's oxygen supply.
String will be necessary if you want to make a bow. Make sure it is durable, and has flex to it.
A knife is good for living in the wild. You can use it for many things including hunting, skinning and gutting food, cutting rope/string, and carving a bow.
Try to pack as little clothing as you need, but make sure you have an outfit suitable for each season you will be living in the wild.
Leather boots will be your lifesaver during the times you are hiking in the bush. In summer months, if it is too hot, barefoot is always an option. Just stick your boots in your backpack.

A water bottle is a useful for survival, since you might not always be in close proximity to water. When you are out in the wild, make sure you are living near a source of fresh water.
Never drink stagnent water, it is full of bacteria.
A hammock is great for living outdoors. In the winter, fill it with dry leaves, moss, etc. to act as a bedding - it will help you stay warm. Also, try to find a place where you will be surrounded by trees, which will help to block out the wind. On hot summer night, try to find a shady areas to set up your hammock.
A large backpack is useful for carrying items - clothing, flint, a tarp, ropes, hammock, etc.
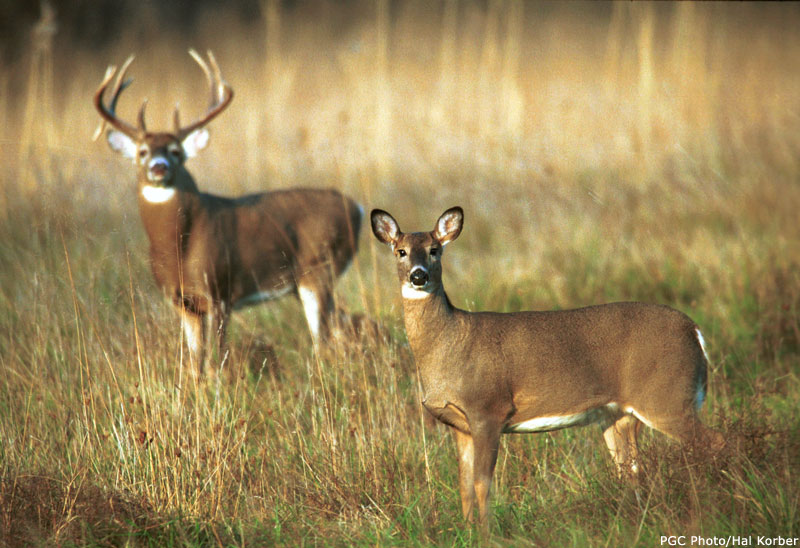
A hunting bow and a sheath of arrows could be a lifesaver. If you have good aim, you can shoot down prey to eat. Among prey could be rabbits, squirrels, wild turkeys, birds, and if your lucky, moose or deer. Wild dogs (coyotes, wolves) and cats (cougars, lynx) are best left alone but if you have to kill one to protect yourself, you might as well eat it.
A fishing net is useful for obtaining food. Catch fish from water that is not stagnent.
Last but not least, a tarp can provide a decent shelter from rain/ wind. Make a tent by typing a rope in between two trees, draping the tarp over, and holding the corners apart with heavy stones.
Now that you are packed, there are a few more things to learn before heading out.
Be sure to check for upcoming posts!
Topics will include:
- Edible Plants and Berries‹Poisonous Plants and Berries
- How to Make a Fire
- Hunting with a Bow and Arrows
- Types of Knots: How To
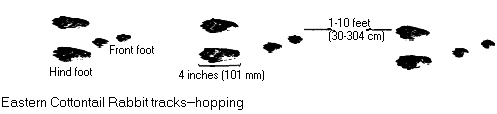
- Animal Tracks: Know What's Around You
Check out Survival Blog for more tips and information:
http://www.survivalblog.com/
Here's an article you might find helpful when packing for a wild adventure:
http://www.survivalblog.com/2012/06/maintaining-your-equipment-for-years-of-use-by-mc-in-arizona.html